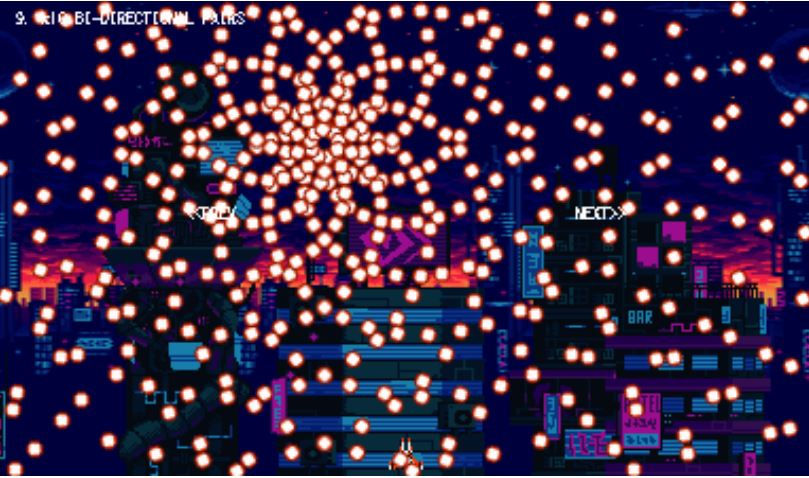
Danmaku Interlude (Part 10): Parallax Scrolling
- cedarcantab
- Oct 8, 2021
- 3 min read
Updated: Nov 21, 2021
Before anyone says anything, the code I am introducing in this post was inspired by a Youtube video, which demonstrates a bullet hell generator created in C#.
Just as with the original creation, I have used some assets created by other people who are much more artistically talented than I.
Music: https://opengameart.org/content/awake-megawall-10
Background: https://opengameart.org/content/warped-city
Ship Image: https://jonathan-so.itch.io/creatorpack
The main purpose of this post is to build on Danmaku Interlude part 3, which created a simple scrolling starfield, using the Phaser 3 blitter object, and create a parallax scrolling effect.

Parallax scrolling is a way to add depth and movement to a screen. The impact is very powerful but is quite simple to implement. In the scrolling starfield, you had one static image of a starfield move downwards across the screen repeatedly to create the effect of the player moving upwards. In parallax scrolling, you prepare multiple static background images, and make them move across the screen at different speeds - and that's it.
The technicalities are the same as the starfield example - there are several different ways of achieving the same effect. I have used Phaser 3's blitter object, because that is supposedly the fastest way move images across the screen.
In this particular example, I make use of 3 different background "layers", which are loaded from the preload function, like below (note I have finally graduated from "leeching" assets off Phaser labs).
 this.load.setBaseURL("https://raw.githubusercontent.com/cedarcantab/DanmakuProject/main/");
  this.load.image("bg_1", "warped_city_bg-1.png"); // original image size is 384 x 224
  this.load.image("bg_2", "warped_city_bg-2.png"); // original image size is 384 x 224
  this.load.image("bg_3", "warped_city_bg-3.png"); // original image size i 1009 x 224
In the create function, I paste 2 copies of each image so that they can be scrolled across the screen.
  bg_1 = this.add.blitter(0, 0, "bg_1");
  bg_1.create(0, 0);
  bg_1.create(384, 0);
  bg_2 = this.add.blitter(0, 0, "bg_2");
  bg_2.create(0, 0);
  bg_2.create(384, 0);
  bg_3 = this.add.blitter(0, 0, "bg_3");
  bg_3.create(0, 0);
  bg_3.create(1009, 0);
Then in the update function, they are moved each frame, at slightly different speeds.
    bg_1.x -= 0.1;
    bg_1.x %= 384;
    bg_2.x -= 0.5;
    bg_2.x %= 384;
    bg_3.x -= 1;
    bg_3.x %= 1009;
And that's it in terms of parallax scrolling.
The following are "new" in terms of code. I will not delve into these as they are not specifically danmaku related, and there are plenty of tutorials out there.
preloading screen: there's a bunch of code to show how the asset loading process is progressing
animated player ship
An important change in this particular demo is that there is no enemy ship object created. Instead I have directly created the danmaku from the create function (in previous versions of code, I created the enemy object, which in turn instantiated a danmaku object). As the danmaku is instantiated directly, I need to tell it where it appear on the screen (until now, the danmaku was spawned by the enemy object and matched the position of the enemy object with the "follow" method). To do this, I have used the setPosition method, as the danmaku is an extended Phaser.Image object.
The other cosmetically important change is the bullet image - I have consistently used "enemy_bullet.png", a bullet with a white centre, which is more consistent with a bullet from a real danmaku or bullet hell game.
I have also increased the number of bullets in pool to 2000.
Oh, and a minor but very important change is that I have set pixelArt to false in the game config. I had not thought of this before, but this makes a very big difference to how the bullet streams look on screen.
As always, the CodePen is available here. I have included 14 example danmaku pattern configs that look similar to the ones appearing in the Youtube video. As far as I could figure out from watching the video, I cannot replicate the following type of patterns in the Youtube demo with the current version of my code - these are ideas for future revisions.
bullets that appear to fly along a "waving" path (i.e., not just bend in a single direction, but change from left to right and vice versa)
polygon type of patterns
multi-nways that are not equally spaced out


Comments